WHAT IS METROLOGY SCANNING?
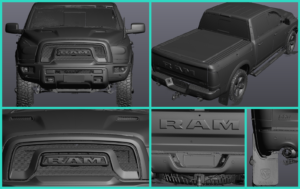
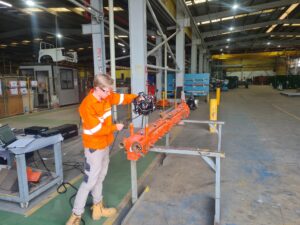
3D Metrology Scanning is the process of capturing and digitising the physical attributes of a part or an object.
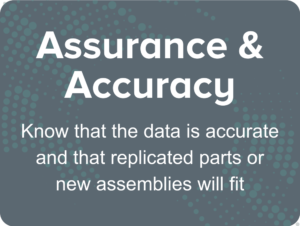
The scanners we use, how we process the data and how we deliver the data are all determined based on the object and our clients’ needs, resulting in an ideal bespoke approach for every and any type of project. This approach allows for the complete integration of scanned data into existing digital components and assembly workflows, providing precision measurements with a dimensional accuracy of up to 0.035mm.
When employed during design processes, our 3D Metrology solutions guarantee;
- Shorter prototyping cycles
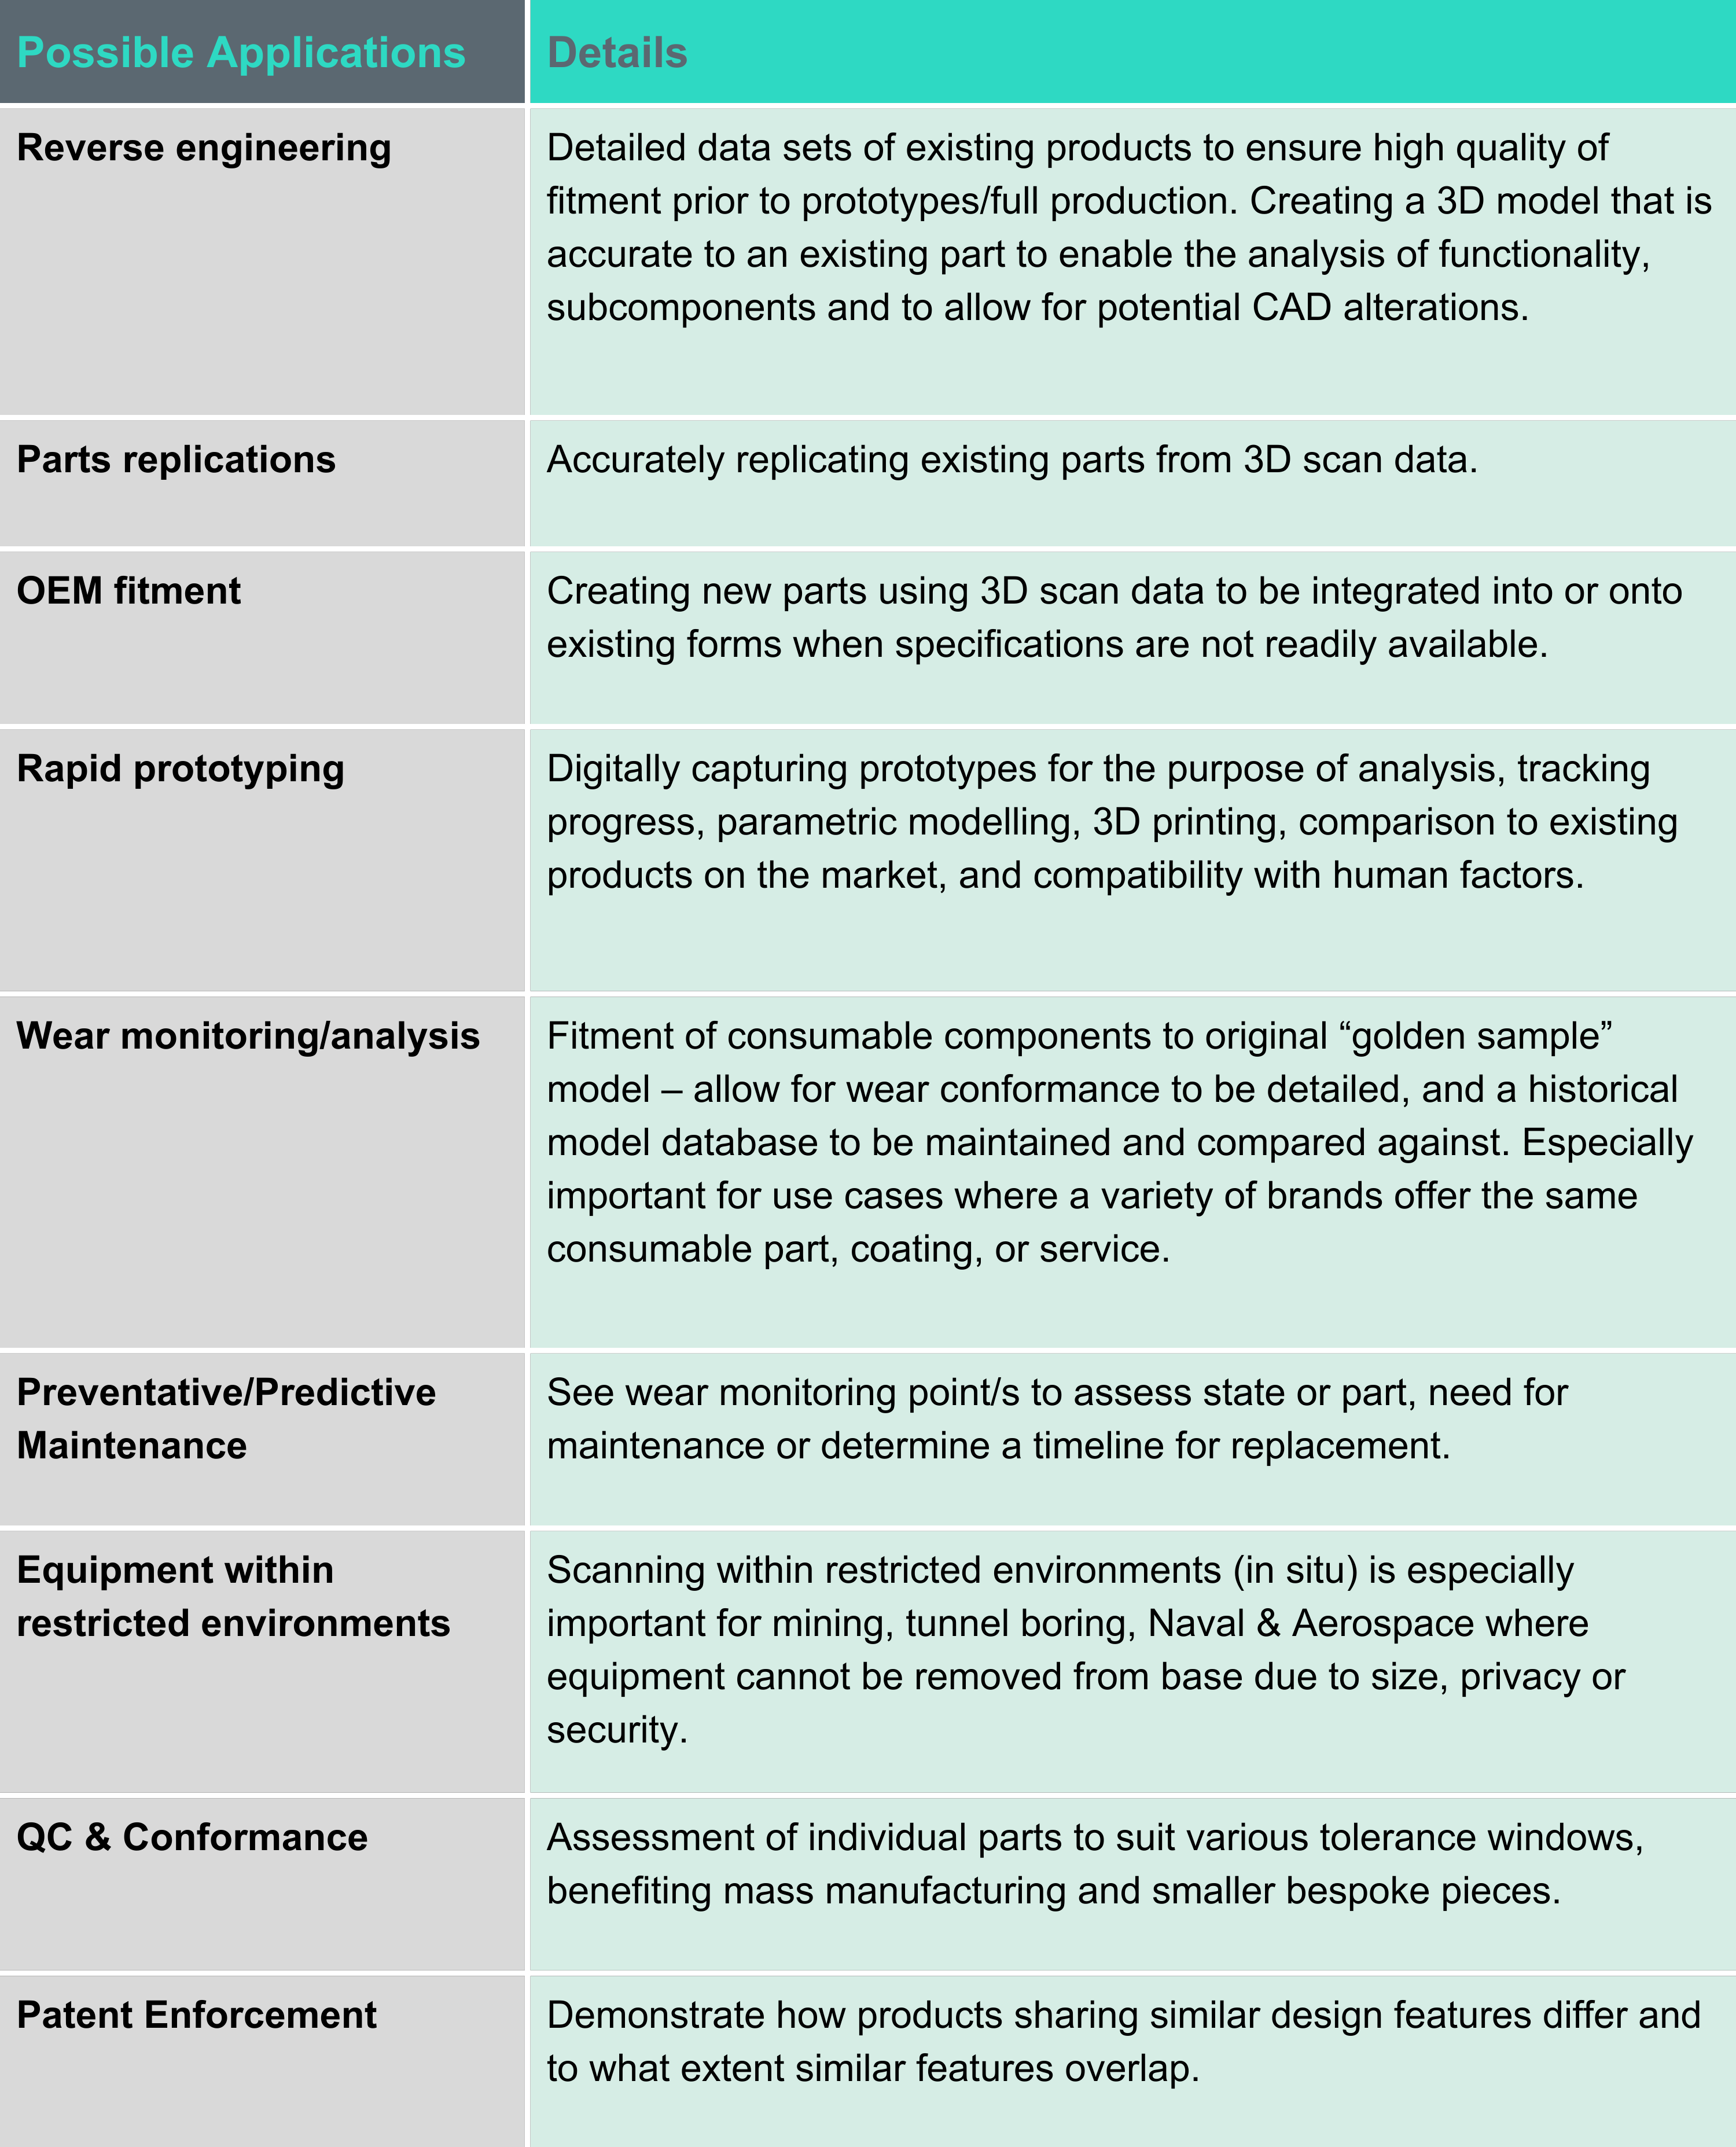
- Improved fitment and tolerances when integrating into existing assemblies
- Quality control & inspection
- Conformance during manufacture and enhanced component aesthetics.
- In addition, we can reverse-engineer existing OEM (Original Equipment Manufacturer) parts, regardless of whether part specifications are available.
HOW DOES IT WORK?
Depending on the type of scanner, either laser or structured light is used to detect the distance between the part and scanner, capturing millions of measurements per second to instantly and accurately reconstruct 3D information digitally.
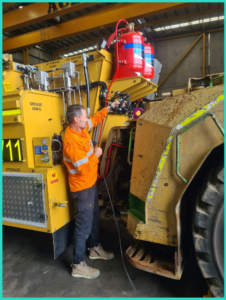
Our structured light scanners are ideal for small to medium-sized projects, capturing comprehensive and highly detailed 3D measurements of any complex surface with an accuracy of up to 0.05 mm. Alternatively, our terrestrial laser scanners are more suitable for larger scanning areas and are capable of withstanding more active work environments, such as production facilities, without compromising the quality and accuracy of data.


PROJECT WORKFLOW
As a trusted provider of spatial data services with extensive experience, we have developed a streamlined and effective workflow, allowing for accelerated turnarounds and reduced risk to your business.
- The client sends us photos and information about their project so we can understand the scale and complexity of the part.
- We discern the most suitable scanner, capture method and scanner resolution settings to use.
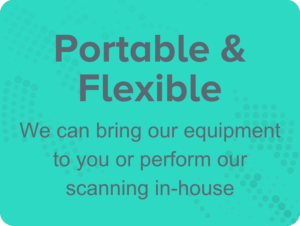
- Scanning takes place on-site or in-house depending on the part. We apply mid-scan aids if required (sublimation spray, scan targets, etc.)
- Analyse collected data before finalising the scan to ensure no data is missing on required areas of the subject
- We complete post-processing and refine data off-site where possible to clean and remove unwanted data and align it to the CAD (Computer Aided Design) origin.
- At this stage, we deliver scan data as a 3D mesh and offer further modelling services to create a solid CAD model (Scan to CAD) if required.
HOW CAN 3D METROLOGY SCANNING BENEFIT YOUR ORGANISATION?


KEY DELIVERABLES
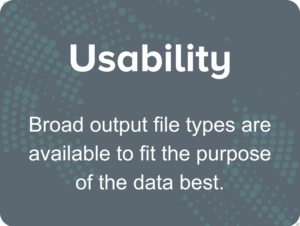
- Sub-millimetre accurate surface mesh (multiple industry standard file types available upon request)
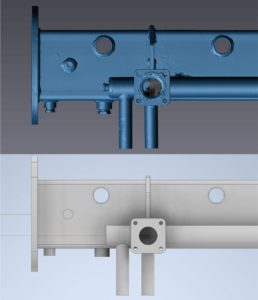
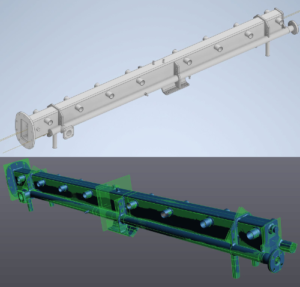
- Surface mesh & model overlay
- Scan to CAD parametric model (additional service to initial scanning)
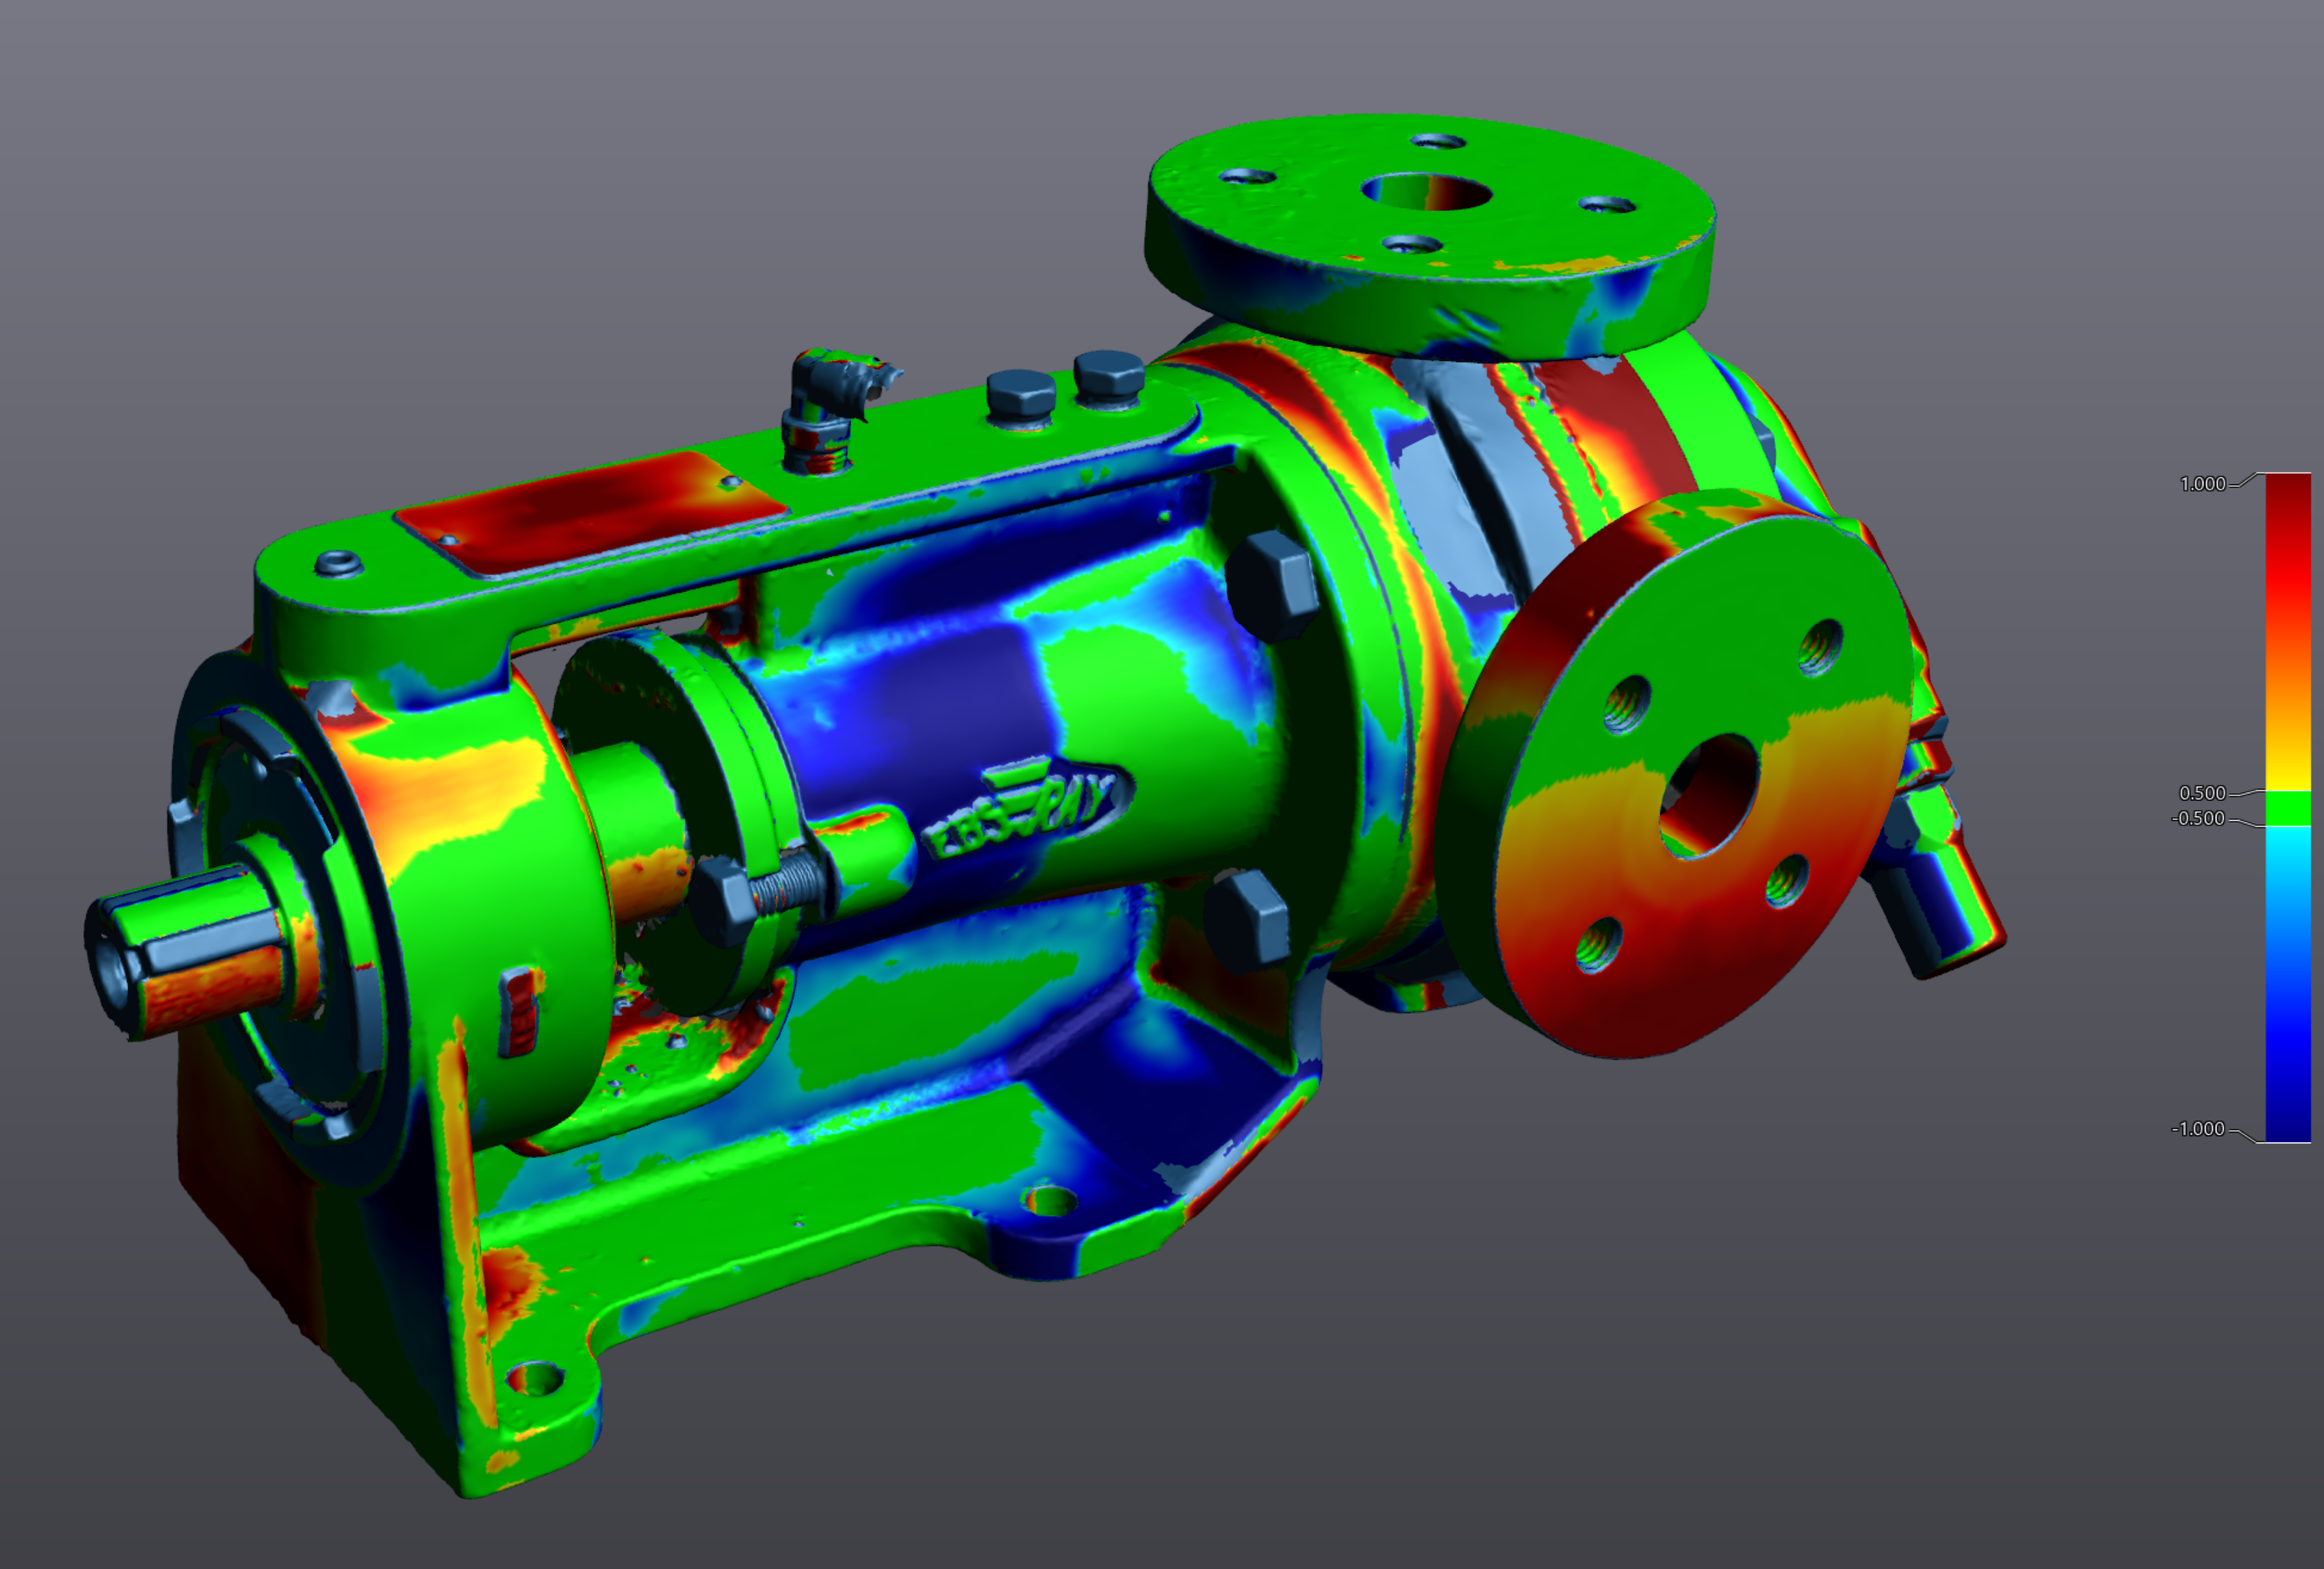
- Tolerance/heat map comparisons (visual aid)
- Deviation analysis – This classifies variations between the surface and geometry of 3D scan data vs. a CAD model or any prior scan
- Scan to CAD Deviation Analysis


3D METROLOGY SCANNING SOLUTIONS ARE APPLICABLE TO MULTIPLE SECTORS INCLUDING:
- Manufacturing
- Architecture, Engineering & Construction (AEC)
- Mining
- Oil & Gas
- Automotive, Marine & Aerospace
- Medical & Healthcare
- Agriculture
- Warehousing/Mass Storage
- Art / Explorative Design
- Theatre, Film, TV & Gaming
